Getting Started
The following page serves as a brief introduction to wavefront. Be sure to check out the rest of this user manual to understand this piece of software in its entirety.
Having either downloaded a pre-built binary or built wavefront from source, you are left with a wavefront binary. Wavefront does not require any further installation, as it is a portable software. Just double-click the executable to run the program.
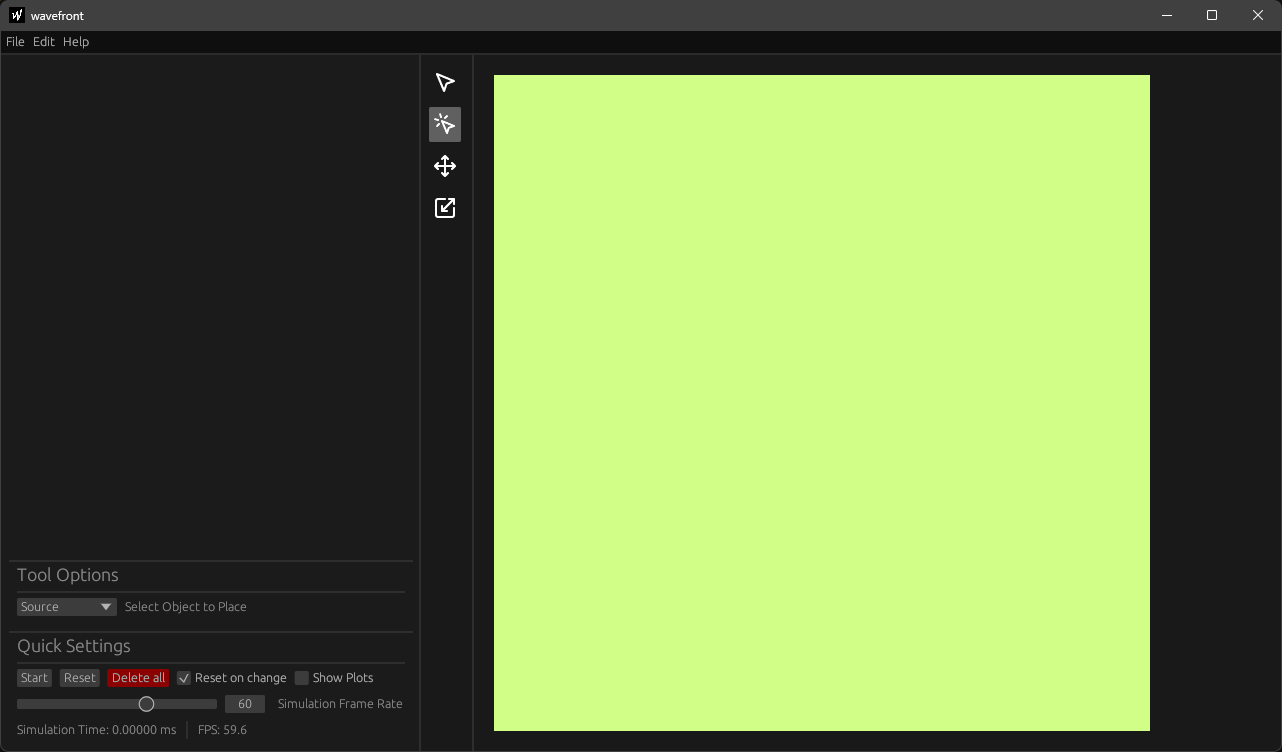
You should be greeted by this window:

The default tool is the place tool  which allows you to place one of the following objects:
- Source
- Rectangular or circular wall
- Microphone
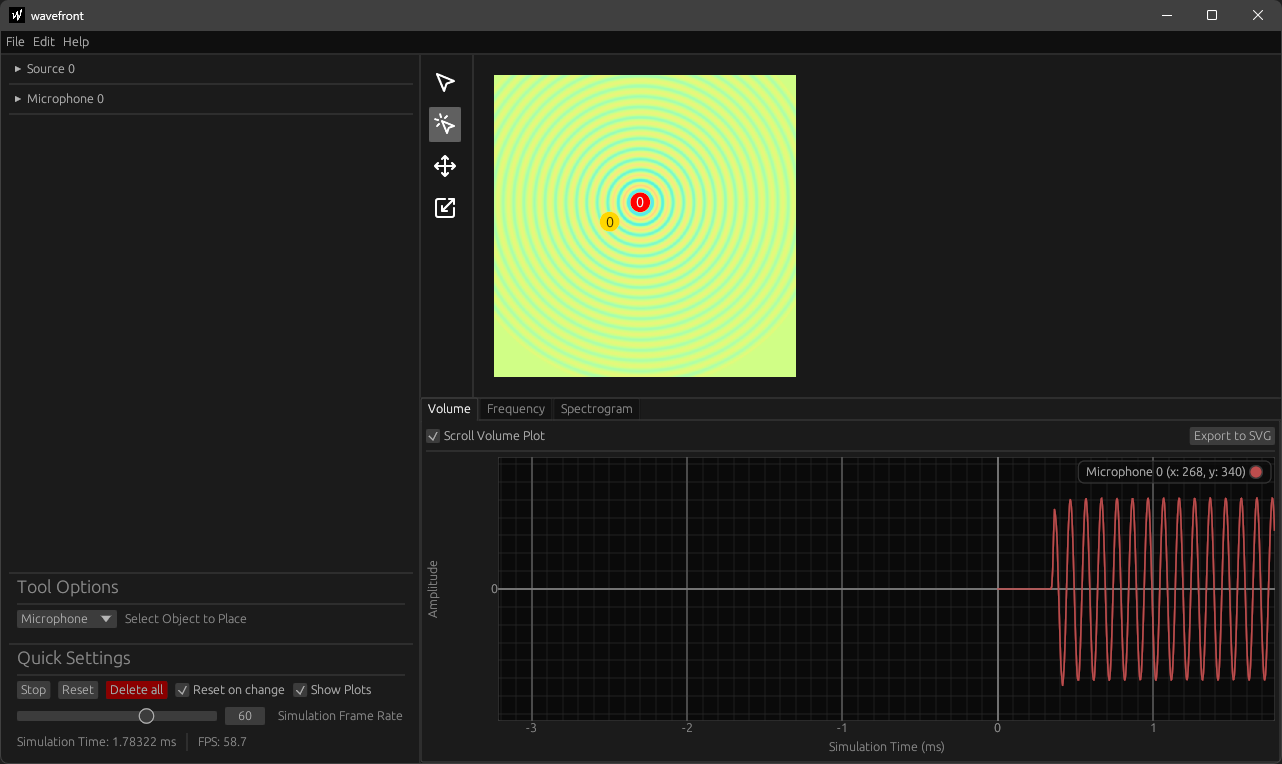
As shown in the tool option panel, Source is selected, meaning you'll be placing sources. Click on the render area to place a source. A new entry named Source 0 should appear in the outline panel.
Press space or click the Start button to run the simulation. Press space again to stop.
In the tool bar select the move tool  . This tool allows you move any object contained in the render area. If you feel like experimenting, try placing a wall and resizing it using the resize tool
  .
.
Currently, the simulation is reset every time you move or change an object. To disable this behavior, uncheck Reset on change in the quick settings menu.
All objects can be further customized in the outline panel.
While the render area displays the simulation, microphones give the user a more in-depth visualization of the simulation properties by displaying sound volume and frequency in the volume and frequency plots. After placing a microphone, enable the plots using the Show Plots checkbox.

Also, check out our list of keybinds for more efficient use of wavefront.